Isosurfaces
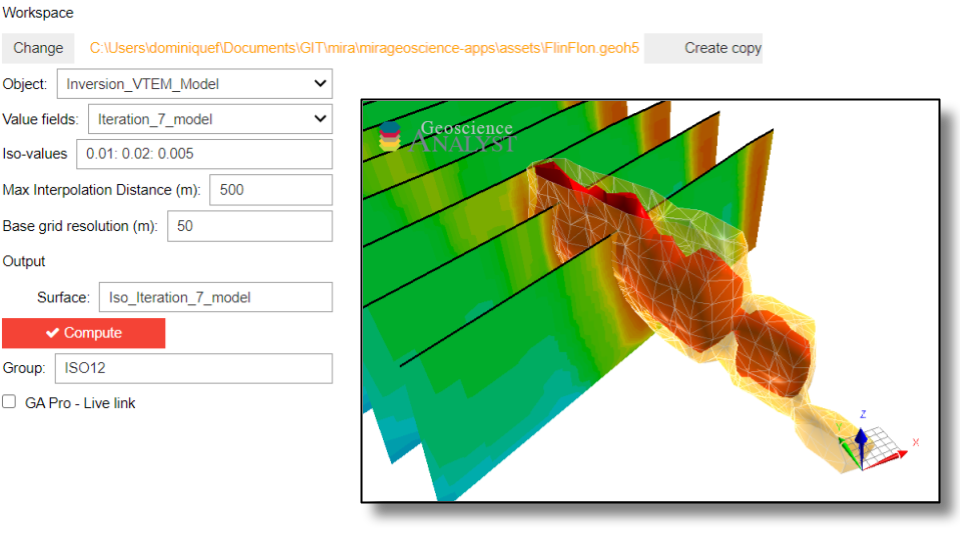
With this application, users can create 3D isosurfaces around data values stored on any type of object.
The application leverages the Scikit-Image.measure.marching_cube routine.
New user? Visit the Getting Started page.
Application
The following sections provide details on the different parameters controlling the application. Interactive widgets shown below are for demonstration purposes only.
[1]:
from geoapps.iso_surfaces.application import IsoSurface
app = IsoSurface(geoh5=r"../../../assets/FlinFlon.geoh5")
app()
Project Selection
Select and connect to an existing geoh5 or ui.json project file containing data.
[2]:
app.project_panel
See the Project Panel page for more details.
Object/Data Selection
List of objects and associated data pulled from the target workspace. The data fields are transfered to the newly created surface.
[3]:
app.data_panel
Iso-values
Set the values to create a surface around. Define a list of fixed contours with the Fixed contours parameter. Define a range of contours with the Contour min, Contour max, and Contour spacing parameters.
[4]:
app.contours
Max Interpolation Distance
Maximum 3D radial distance between the vertices/cells of the input and output objects. No triangulation occurs beyont that distance.
[5]:
app.max_distance
Base Grid Resolution
For all object types other than BlockModel, data values are first interpolated using an inverse distance averaging onto a uniform 3D grid, as required by the Scikit-Image.measure.marching_cube routine. The resolution parameter controls the cell size of the underlying grid used for the interpolation.
For more control on the iso-surface creation, users have the option to interpolate the data to a BlockModel as a pre-processing step using the Data Transfer application.
[6]:
app.resolution
[7]:
import numpy as np
from geoapps.utils.plotting import plotly_surface
from geoh5py.workspace import Workspace
import plotly.offline as py
geoh5 = app.trigger_click(None)
with Workspace(geoh5) as ws:
surface = ws.get_entity("Iso_Iteration_7_model_2_50e-03")[0]
figure = plotly_surface(surface, color='rgb(255,0,0)')
obj, data = app.get_selected_entities()
figure=plotly_surface(obj, figure=figure, intensity=np.log10(data[0].values))
figure.show()
Starting the isosurface creation.
Isosurface completed. -> 5 surface(s) created.
Output Panel
Trigger the computation routine and store the result.
[9]:
app.output_panel
See the Output Panel page for more details.
Need help? Contact us at support@mirageoscience.com